About
Virtru Email for Android allows you to collaborate securely with contacts and other recipients when you are away from your desktop Virtru platform. You can download the app and access your secure Virtru messages (and non-Virtru messages), and also send emails securely - all right at your fingertips.
Jump to:
Install
Activate
Usage and Features
Install
You can install Virtru Email for Android from the Google Play Store. If you happen to be using our old app (you have not updated the app since 2019), please delete it and use this new link for installation or for your MDM management. If your Virtru icon does not appear like one of the following, then you are using the old app.


Activate
Virtru Email for Android offers four different options for activation: Gmail or G Suite, Exchange ActiveSync, Google Sync, and Other Email.
Note:
At this time, Virtru Email for Android does not support activating multiple accounts.
Gmail or G Suite
This option allows you to log in with your Google account credentials and connect using a Gmail API connection.
1. Once you have installed the Virtru app and open it, choose Gmail or G Suite.

2. If you are already logged in to your device with a Google account you can select it here or you can select Add Account.

3. Once you have allowed Virtru Email for Android to connect to your mailbox, we will send out an activation email to verify your account and device. This email comes from noreply-activation@virtru.com and Virtru will process this email for activation automatically. This will happen in the background for the user (you will not have to take any direct action on the email). Once you see the Activated screen you will be directed to your mailbox by tapping Go to Inbox.
Exchange ActiveSync
This option connects to your exchange server using the ActiveSync protocol. Basic authentication is supported: Username and Password.
1. After installing Virtru, open the app select Activate. Choose Exchange ActiveSync option from the Add an Account page.

2. Fill in the required information to allow Virtru to automatically discover your server settings.

3. If you need to configure your server settings manually, select Let me configure my email settings, fill out the required information, and select Next.
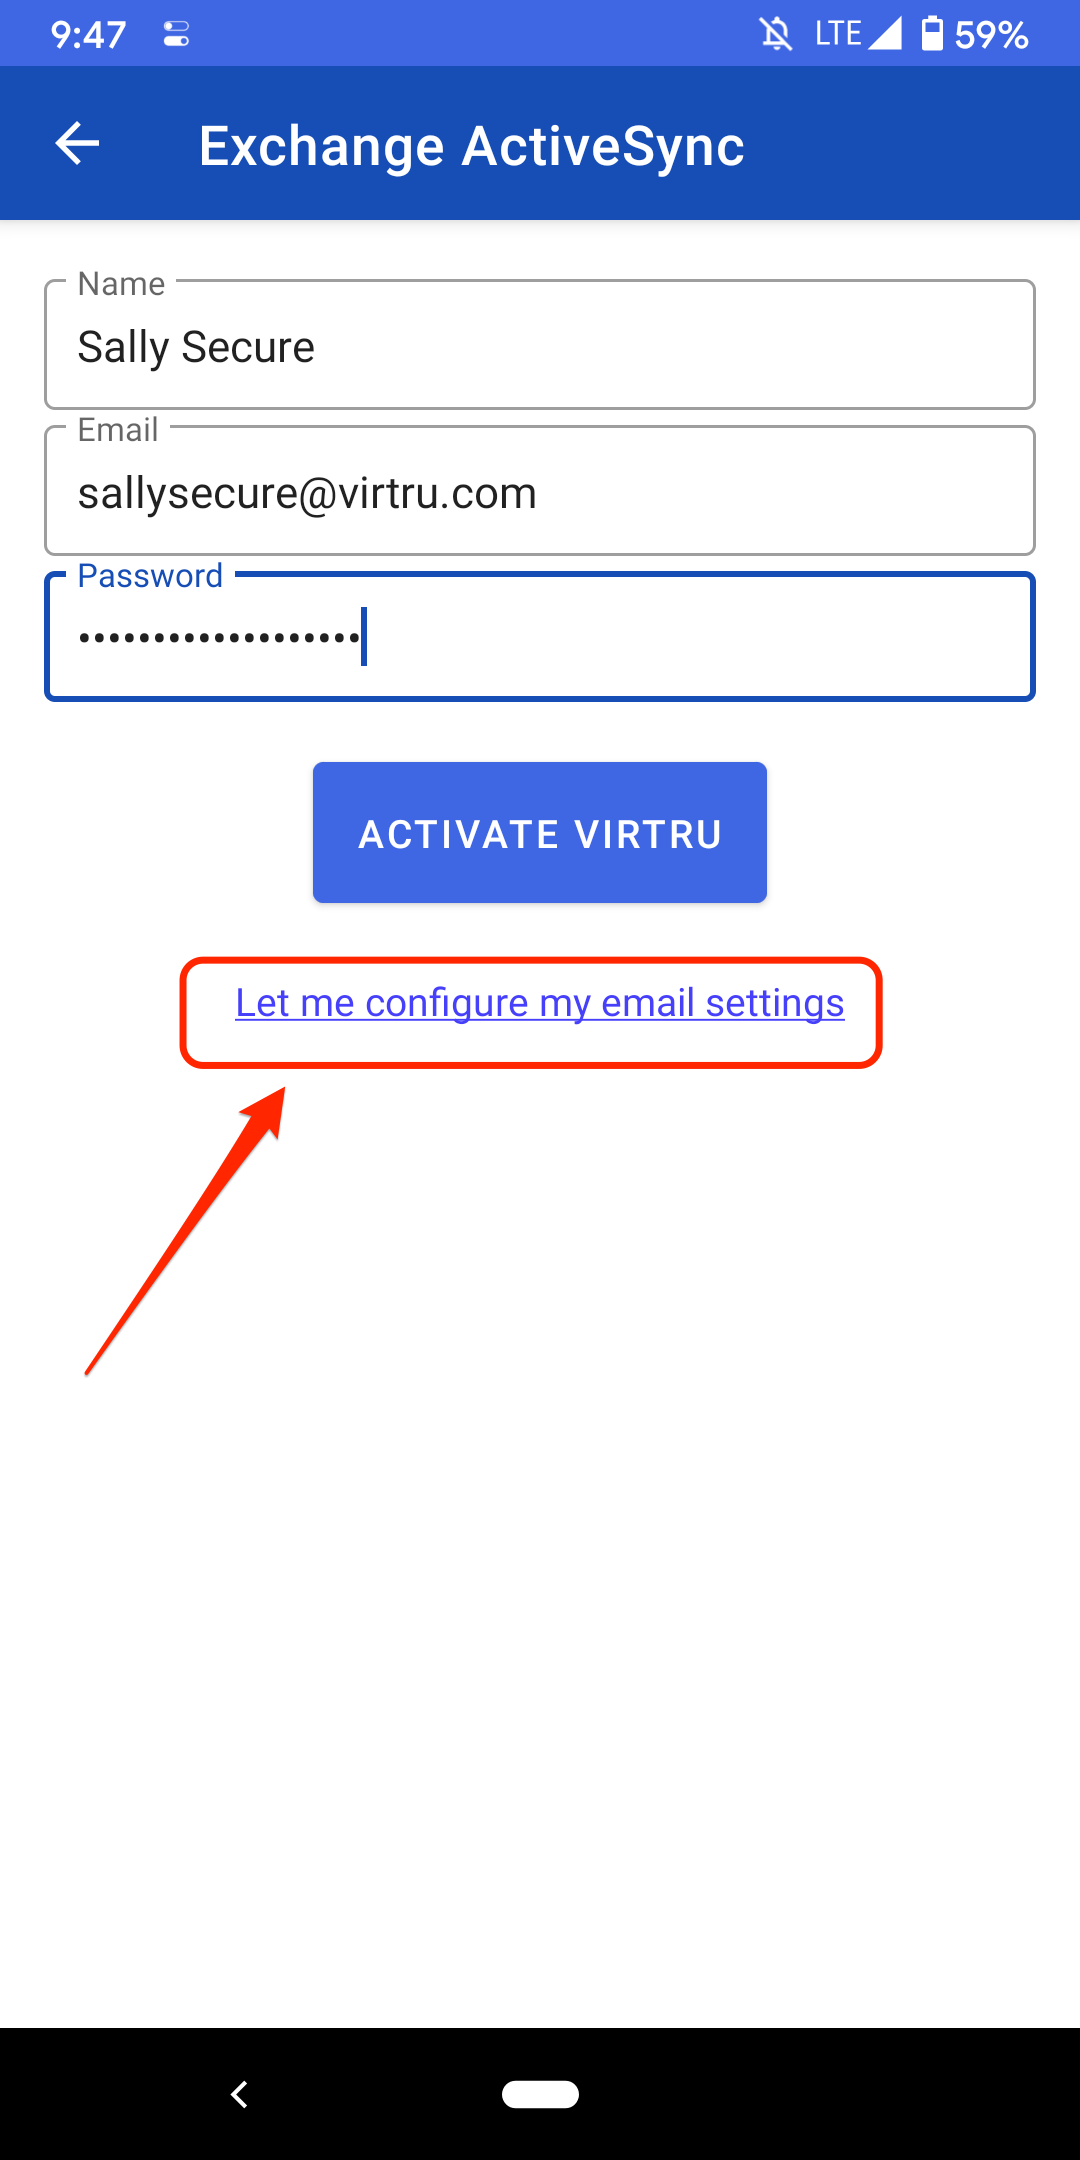

4. Once you have allowed Virtru to connect to your mailbox, we will send out an activation email to verify your account and device. This email comes from noreply-activation@virtru.com and Virtru will process this email for activation. This will happen in the background for the user, once you see the Activated screen you can tap Go to Inbox to head to the mailbox.

Google Sync
For G Suite accounts, the Google Sync option will allow you to connect to G Suite using the Google Sync protocol. Basic authentication is supported: Username and Password.
1. Once you have installed the Virtru app and opened it, choose Google Sync from the Add an Account page
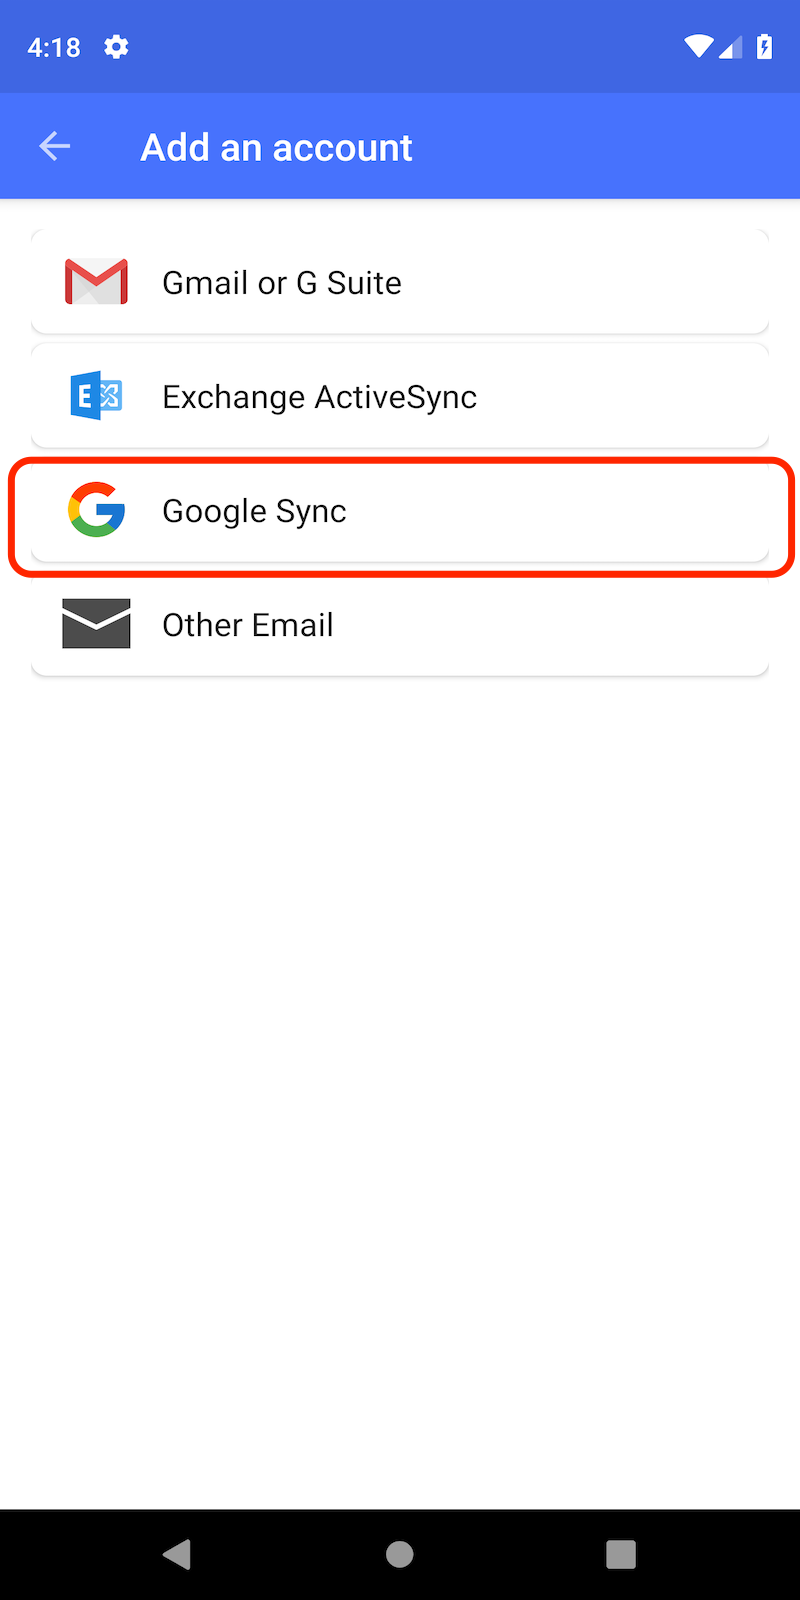
2. Fill in the required information to allow Virtru to automatically discover your server settings.

3. If you need to configure your server settings manually, select Let me configure my email settings, after entering your Name, Email Address, and Password. Then, fill out the required information and select Next.


4. Once you have allowed Virtru to connect to your mailbox, we will send out an activation email to verify your account and device. This email comes from noreply-activation@virtru.com and Virtru will process this email for activation. This will happen in the background for the user, once you see the Activated screen you will be directed to your mailbox.

Other Email
You can choose the Other option during Virtru account configuration to activate Virtru for any other type of account using an IMAP connection.
1. Once you have installed Virtru Email for Android, open it and choose Other Email from the Add an Account page.

2. Fill in the required information to allow Virtru to automatically discover your server settings.
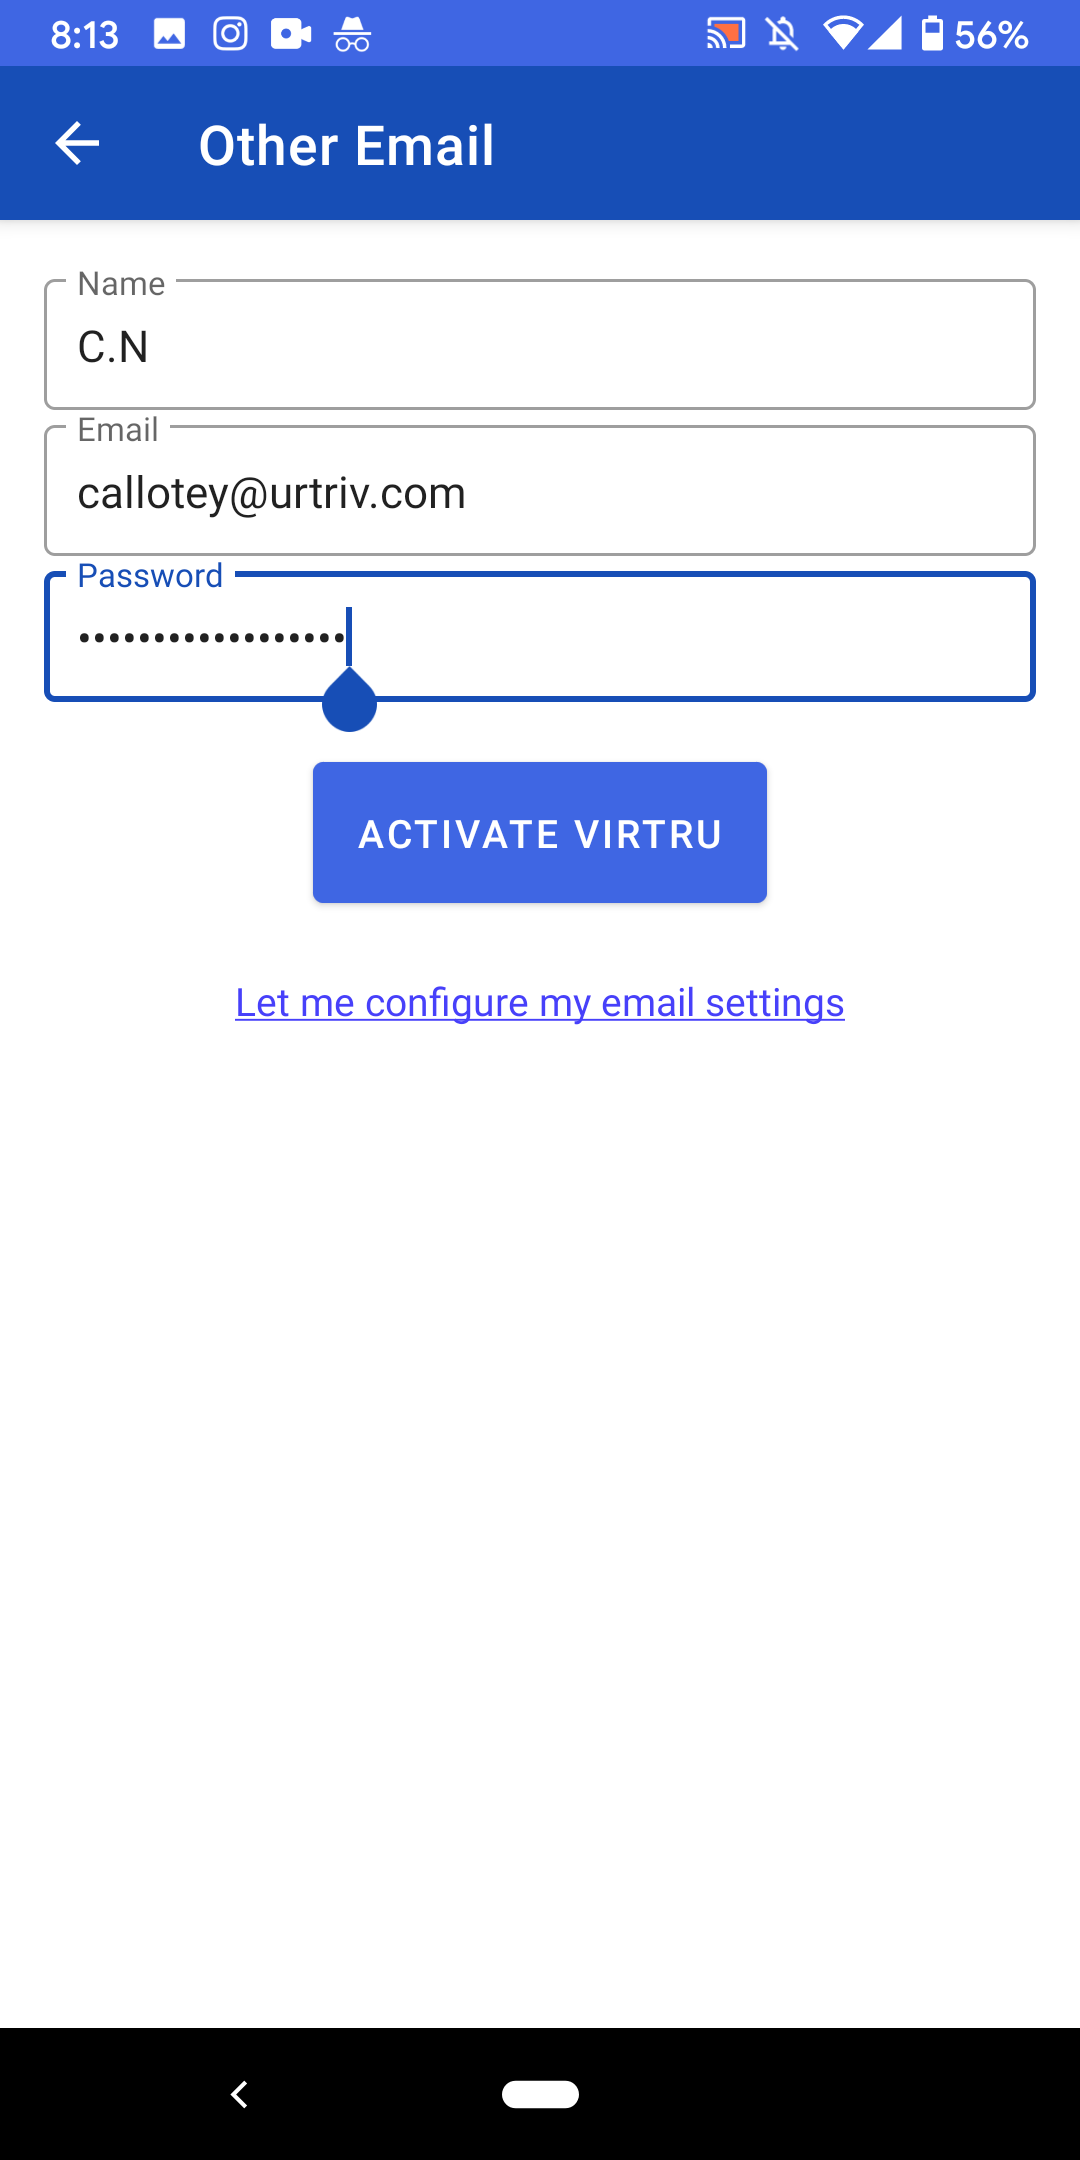
3. If you need to configure your server settings manually, select Let me configure my email settings, fill out the required information and select Next.


4. Once you have allowed Virtru to connect to your mailbox, we will send out an activation email to verify your account and device. This email comes from noreply-activation@virtru.com and Virtru will process this email for activation. This will happen in the background for the user, once you see the Activated screen you will be directed to your mailbox.

Usage and Features
| Compose |
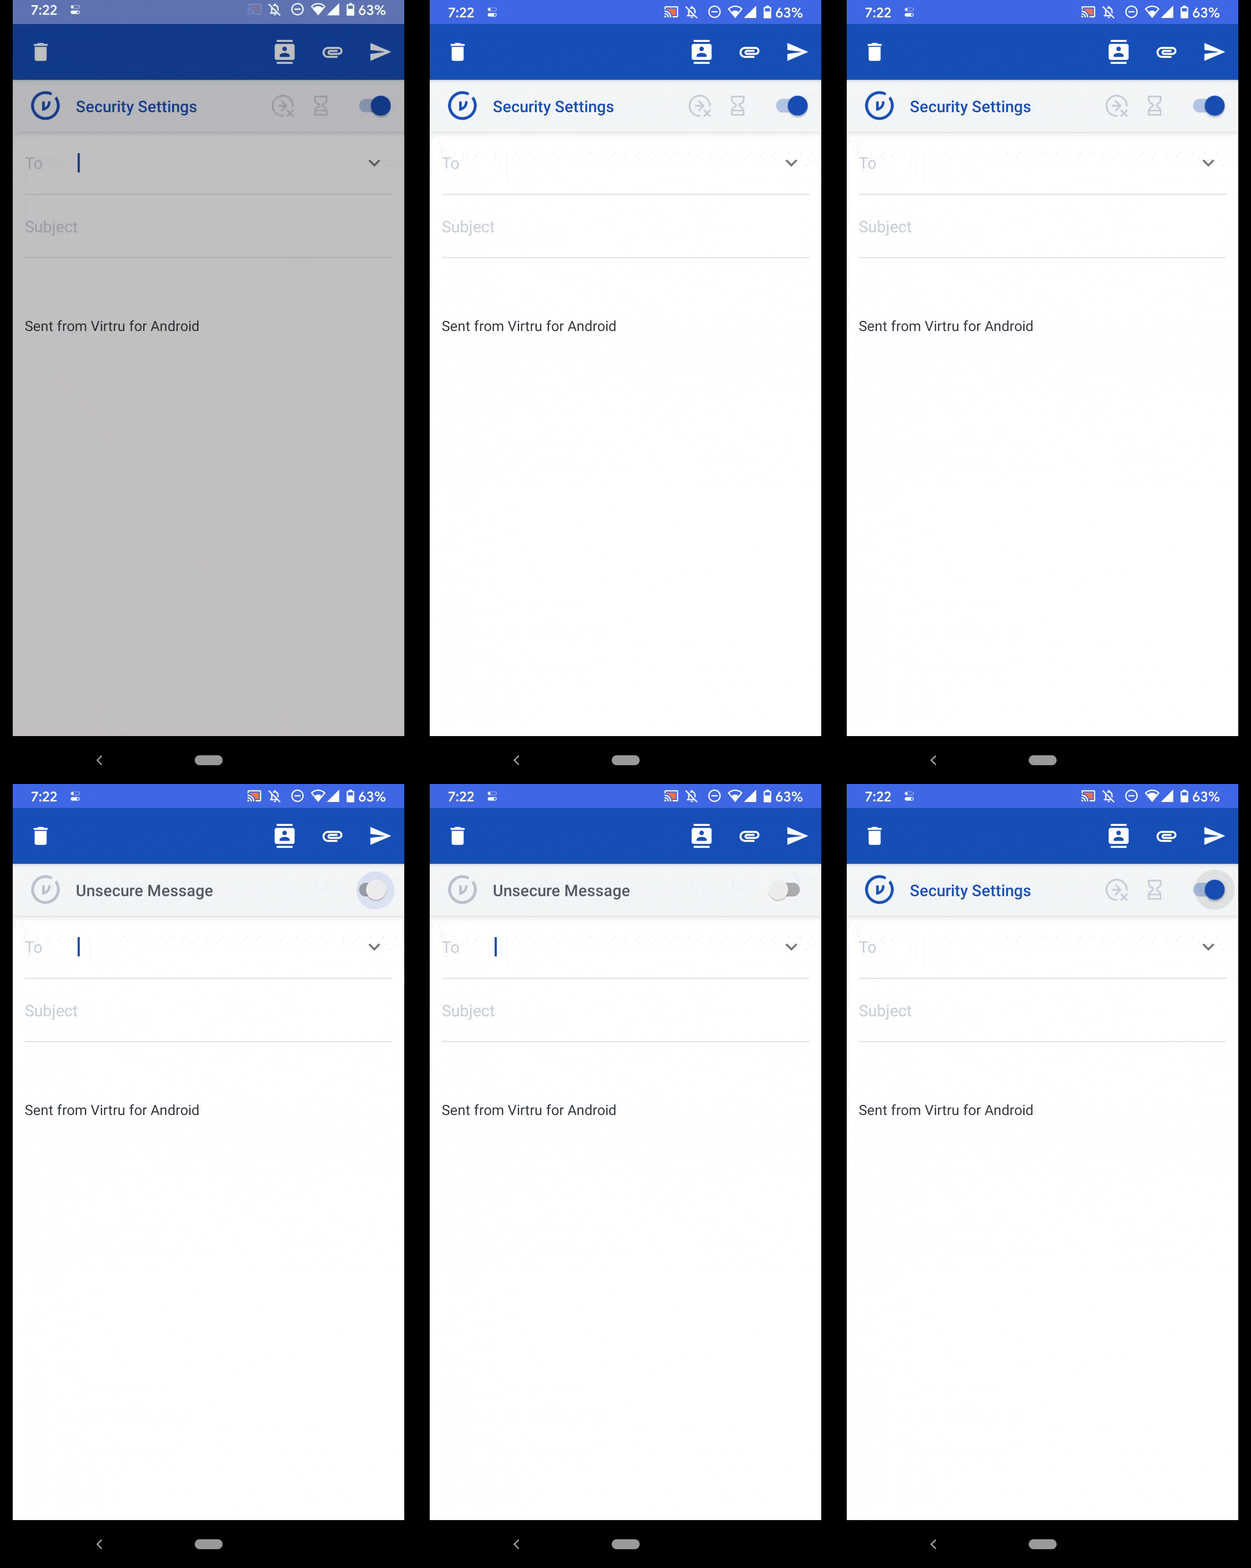
1. Open the app and select the Compose Icon 2. The default will be a secure email. To toggle it off, simply tap the toggle in the right hand to change it to grey
3. Enter your recipients and compose your email. You can tap the paper plane icon with the shield to send |
| Security Features |
While composing a Virtru secure email, you can tap Security Settings to add features including Expiration, Disable Forwarding, Persistent File Protection, and Watermarking.
|
| Update Security/Protection |
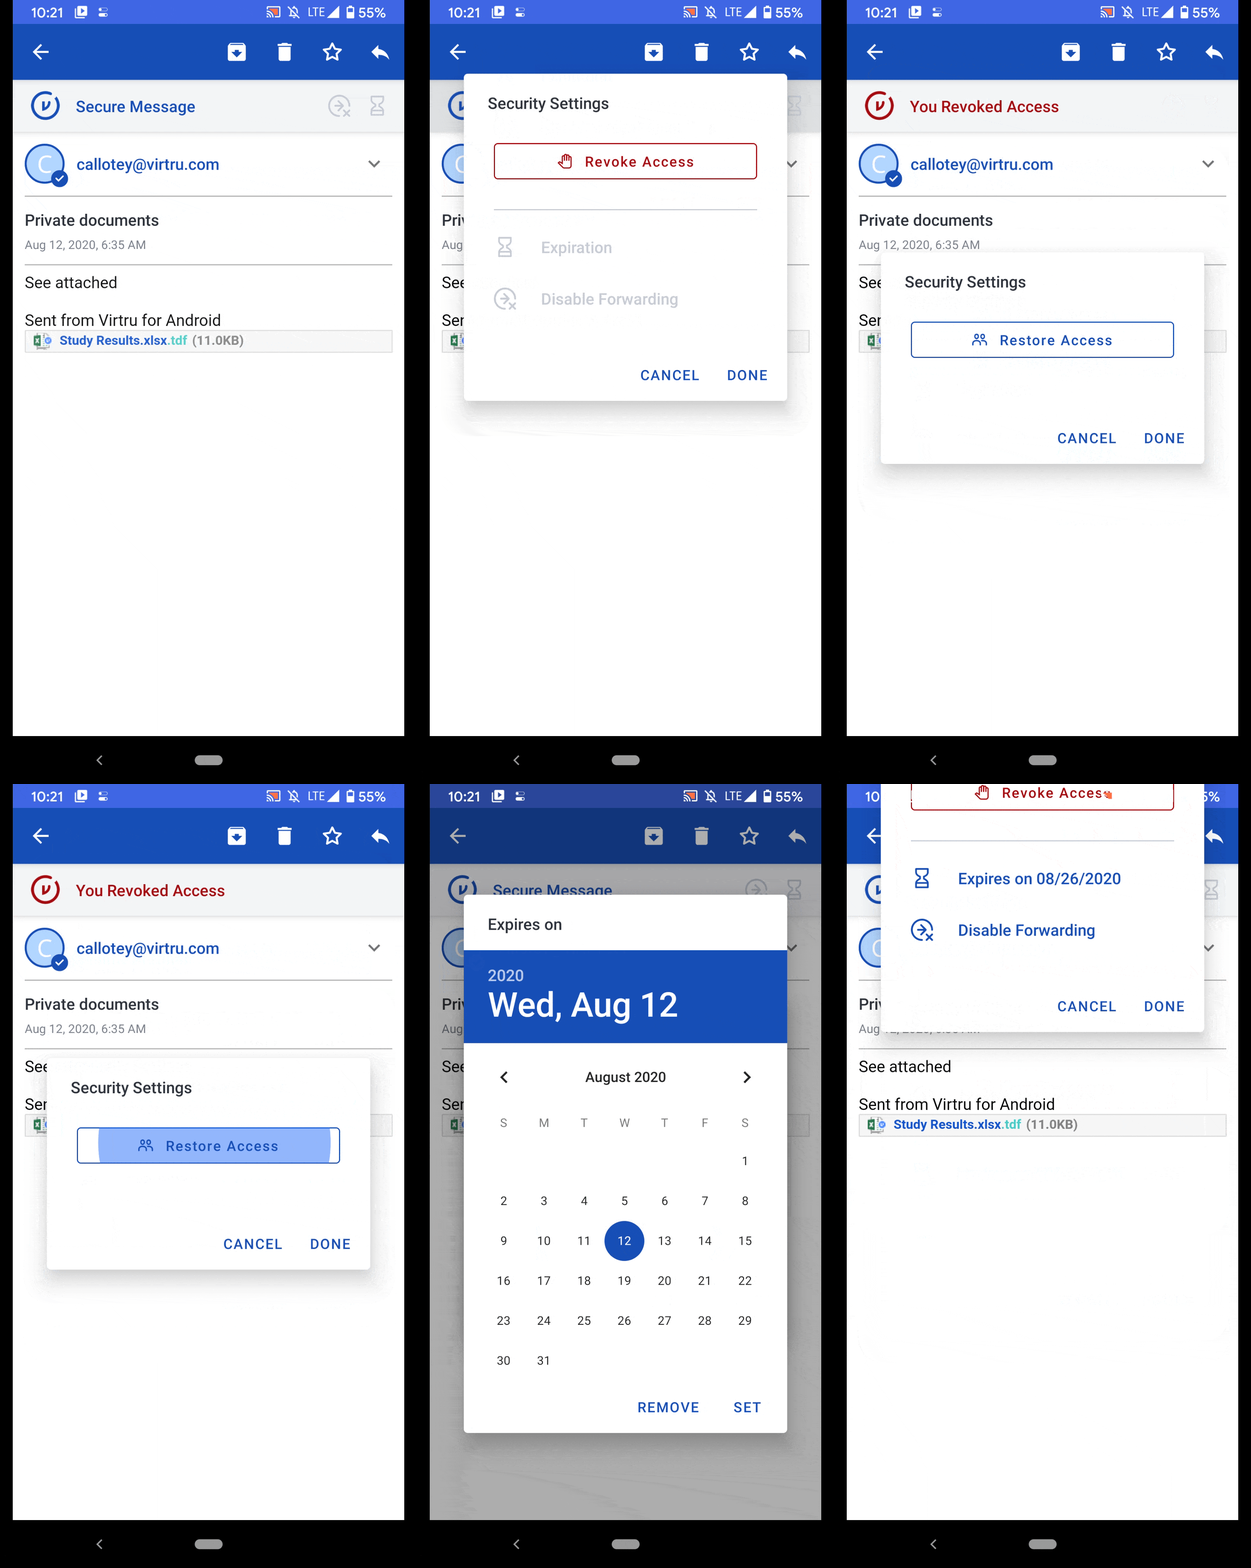
If, at any point after sending your secure message, you need to Revoke, or change your Security Settings, go to your Virtru App Menu, select your Sent Folder, and click on the secure message you’d like to make security setting updates to.
From here, you can tap the Security Settings bar at the top, to modify security settings. |

 . If you wish to add additional protection/security to the email before sending, take a look at the Security Features section below.